I've seen a lot of technical posts explaining how to work a Pivo, but I haven't seen any that address how to best manage all that footage as a blogger, and how to store all that footage without spending a bunch of money or wasting precious phone storage. I'm pretty techy and I've figured out a cheap and efficient system, so I'm going to share what I do.
Setup Steps
1. Let the Google Photos app manage your photos and upload them to the Google Photos cloud for you. Available for both iPhone and Android, Google Photos cannot be beat in terms of search functionality and integration into Blogger - with auto-backup to the Google Photos cloud turned on, photos appear in Blogger's 'add photo' menu seconds after you take them on your cell phone.
2. Set up Google Photos to only back up videos to the cloud over WiFi. Videos are big, and you do not want to be wasting all that data uploading them over your data plan.
 |
| Under 'Settings' in the upper right menu, click "Back up & Sync" |
 |
| Click 'Cell data usage' at the bottom |
 |
| Make sure the bottom two radio buttons are turned off. |
How to create GIFs from Pivo that automatically show up in Blogger, and then delete the video from your local phone storage
1. Use the app of your choice to make GIFs from your video after it's complete. I use 'GIF Maker-Editor' on Android, which is free.


2. Let Google Photos back up the GIFs you create to the cloud, so that within a minute of you creating them on your phone, they're waiting for you in Blogger. (Sorry if you're on Wordpress!). In that same Backup & Sync section from earlier, under 'Back up device folders' make sure the folder for your GIF app is selected.
3. Once you're done making GIFs and your video has been safely uploaded to the Google Photos cloud over WiFi, you need to delete that video off your local phone storage so you have room to make more videos! The video will still show up under the Google Photos app once it's been deleted from the local storage, so you can still watch it on your phone after you delete it as long as you're connected to the Internet.
Google makes this super easy for you, by providing a button for "Free up only the things that have been safely backed up to the cloud" button. You don't need to worry about accidentally deleting the wrong thing and losing it forever!

How to save the whole video for long term storage, relatively cheaply
Okay, so by now you've gotten the video chopped up into bloggable GIFs, and it's no longer taking up space on your phone. Great. Now it's in the cloud, but cloud storage isn't cheap: both iCloud and Google Photos charge a monthly fee once you get above a limit that you'll easily hit with Pivo videos. If you want to keep lots of Pivo videos, you need to download them and then delete them off of the cloud, and then store them somewhere cheap.
There are two main options for this: YouTube (which isn't really storage, per se) and keeping the file on a local computer, external hard drive or a NAS (Network Attached Storage) device, with the NAS being the best if you plan to keep lots of Pivo videos/media/files in general.
A NAS is like a networked external hard drive with the ability to automatically protect its multiple hard drives from failure in a way a laptop or an external hard drive is not designed to do. It'll plug into your WiFi router and be accessible from any device on your home network.
Even if you're not techy, the NAS's of today are designed to be consumer-easy to set up, and you can even set them up to where you can view your files from your phone and away from the house. I highly recommend a Synology NAS, which is what I have:
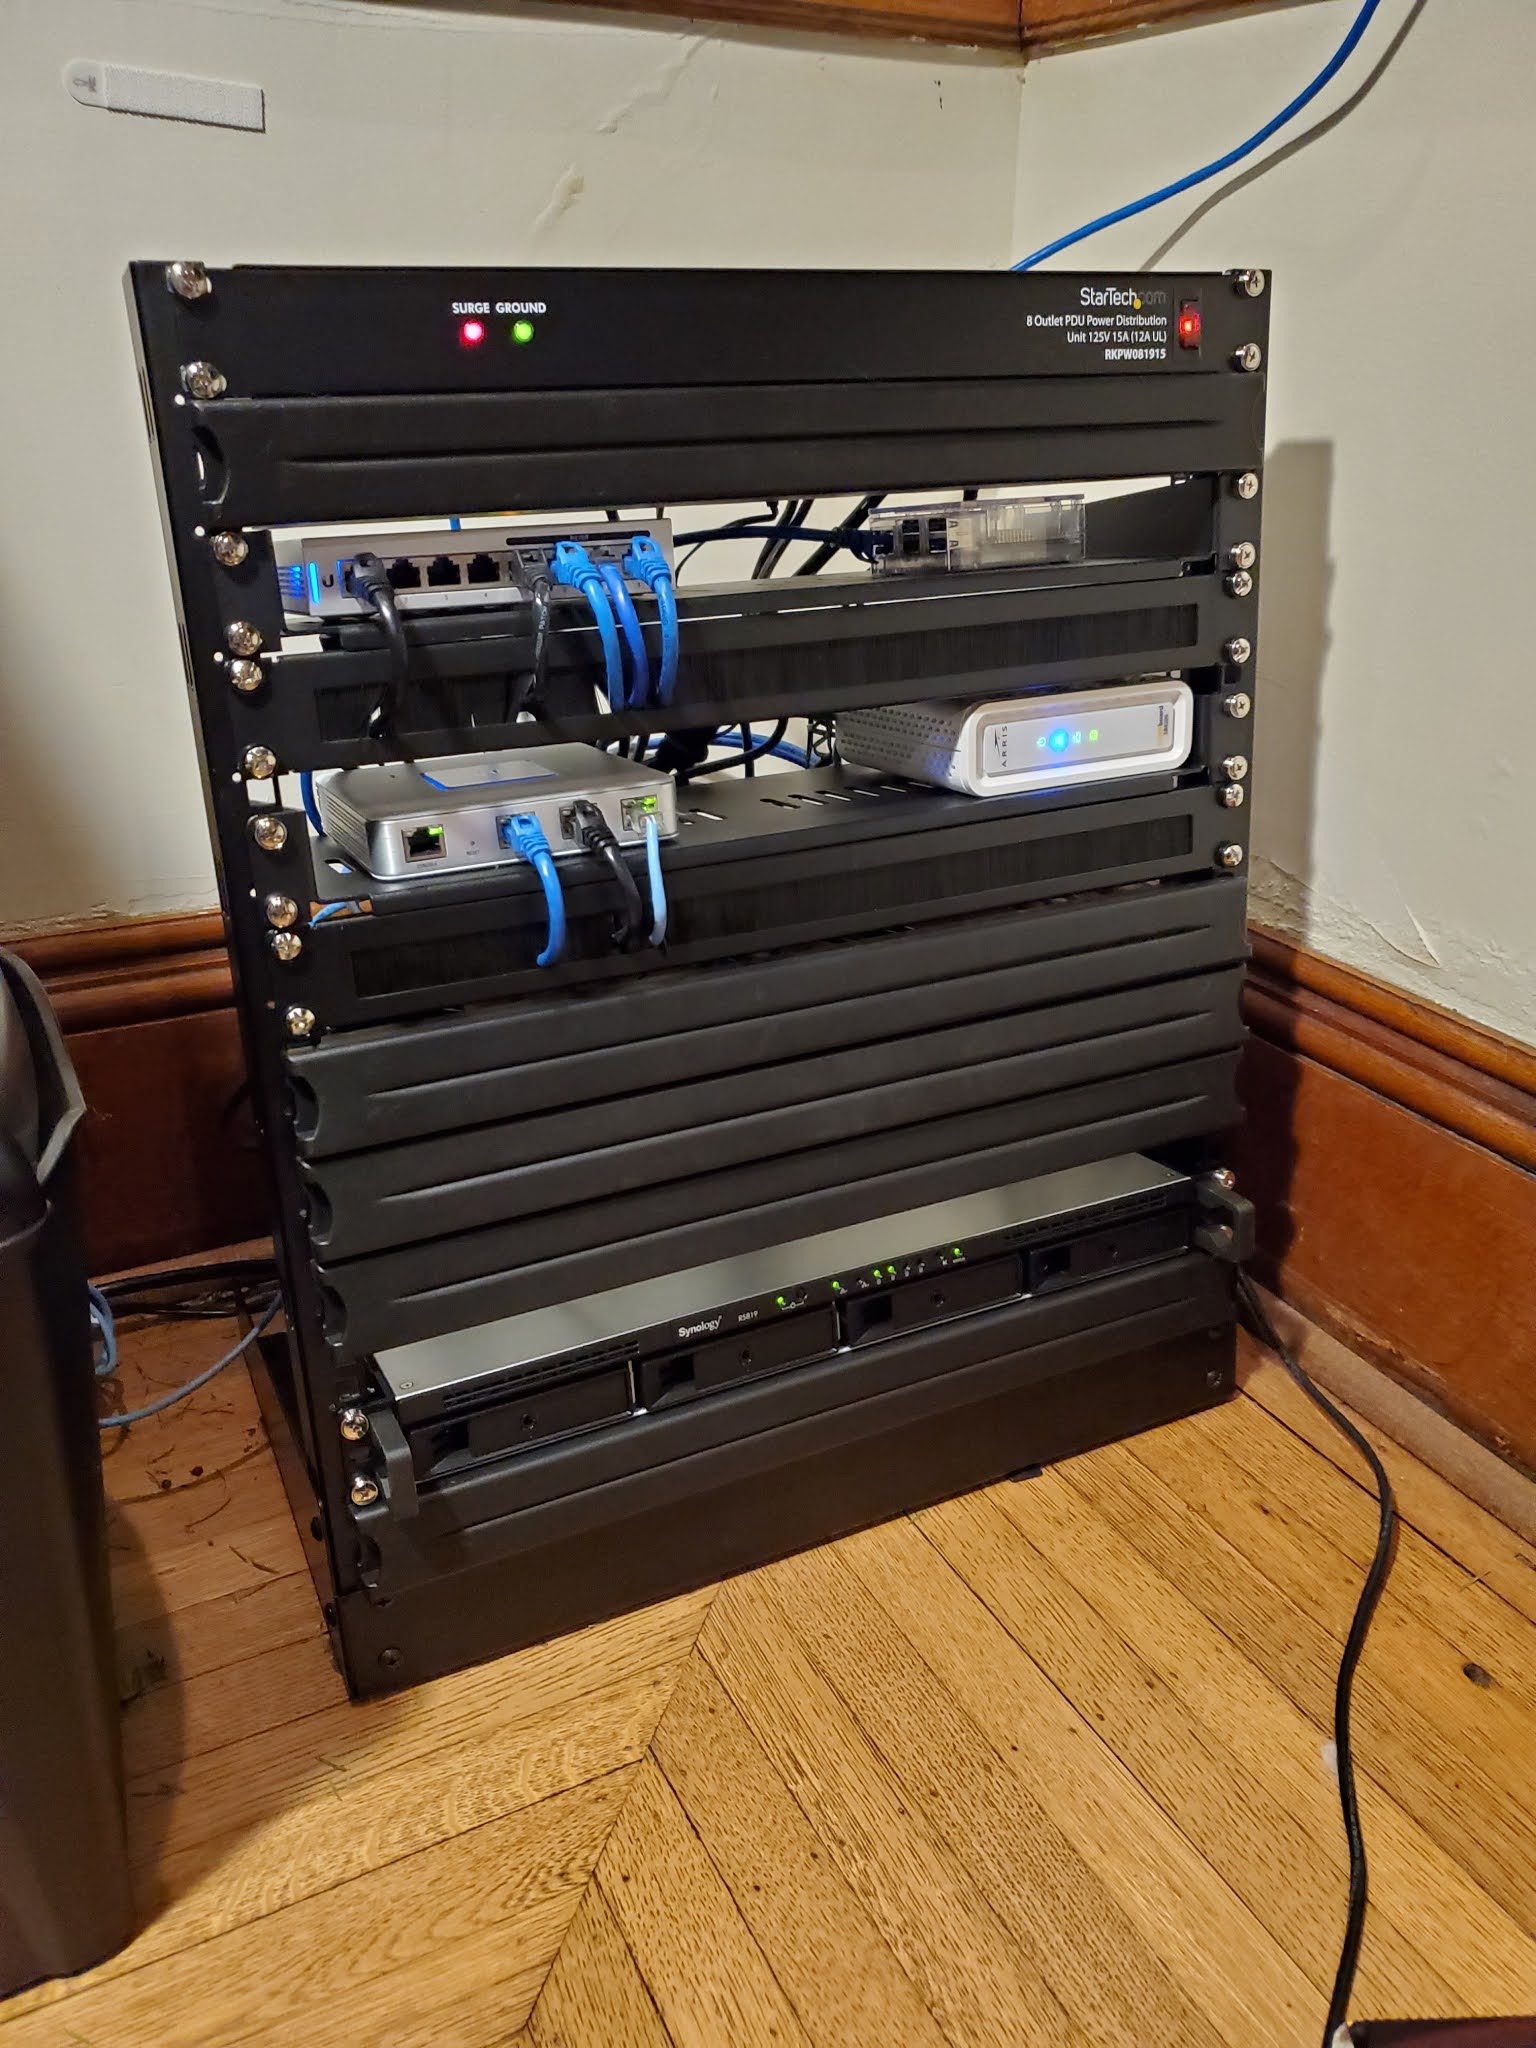 |
| Synology on the bottom, don't worry, you don't need to be this extra lol |
My Synology is a rackmount model, but you can get a cute little white tabletop one too:

This is my current budget pick for a Synology NAS for the average home user (which will get the job done if all you need to do is store video you won't be accessing often, it'll be slow as hell doing it), and this is my budget splurge pick (which will get the job done faster). If you have more money than patience, the sky's the limit with Synology, which goes all the way up to small business-level performance.
Note that neither of those include hard drives, so you'll need to buy those separately. Both of these models have two drive bays, which will back each other up, so if one drive fails you don't lose any files. This means if you buy two 2TB hard drives for it, you'll end up with 2TB usable space.
On Cyber Monday today, you could pick up the budget Synology NAS above and two Western Digital Red 2TB hard drives for a total of $289.97 for 2TB of storage. For comparison, 2TB of storage in Google's cloud will run you $9.99/month, so the NAS will pay for itself in a little over two years.
ALL OF THAT SAID - once you've got the NAS and it's set up, you can add it as a folder to your PC or Mac, download your videos off Google Photos, and drag and drop them into the NAS folder.
 |
| Shown: downloading off Google Photos |
 |
| My NAS is named Hanko <3 |
Once you've got the video downloaded to the local storage of your choice, don't forget to go into Google Photos and delete it from the cloud! Usually once a month I go through and download all my Pivo videos to my NAS and then delete them from Google Cloud. Definitely not every time I ride.

You might ask, do I need to keep every video of every ride ever?
No, but with hard drives being so cheap these days, and with the videos living on my NAS instead of on my devices, it really doesn't matter if I keep them or not, so I may as well. I often go back and watch lesson videos in particular.
I think that about covers it. Questions? What are you doing with all that media? Are you keeping it all or watching it and deleting it?


